
Fax from iPhone or iPad: Send and Receive in Minutes
No long-term contracts — cancel anytime!
We all use our phones for so many of our daily tasks and activities, so why should sending a fax be any different? You might even be wondering, can I fax from my iPhone? With digital online fax solutions like MyFax, you can turn your iPhone into a portable fax machine. In this guide, we’ll cover how to fax with iPhone and the benefit
It’s never been easier to send a fax from your iPhone or iPad. Here are just some of the benefits to faxing from your iPhone:
- The flexibility of internet faxing lets you fax from anywhere, anytime. All you need is your iPhone, a MyFax account and an internet connection.
- iPhone apps for faxing give you features like document scanning, electronic signatures and file tracking all on your smartphone, making the entire process easier and more streamlined.
- Faxing from your iPhone leads to faster response times, happier customers, and more reliable faxing for various industries.
Fax From iPhone: Easier Than You Think
Yes, anyone can send or receive faxes using their iPhone and a digital fax solution like MyFax. We even offer a user-friendly MyFax iOS app to make the process seamless.
The MyFax iOS app is so easy to use. Just download the app and create an account. Then, tap to open, tap a few more times to create or attach your fax documents and instantly send faxes through your iPhone to your contacts.
The MyFax iOS app even stores all your sent and received faxes for the lifetime of your account, so you can go back and trace your sent or received faxes any time you need to. These are just some of the great benefits of internet faxing solutions.
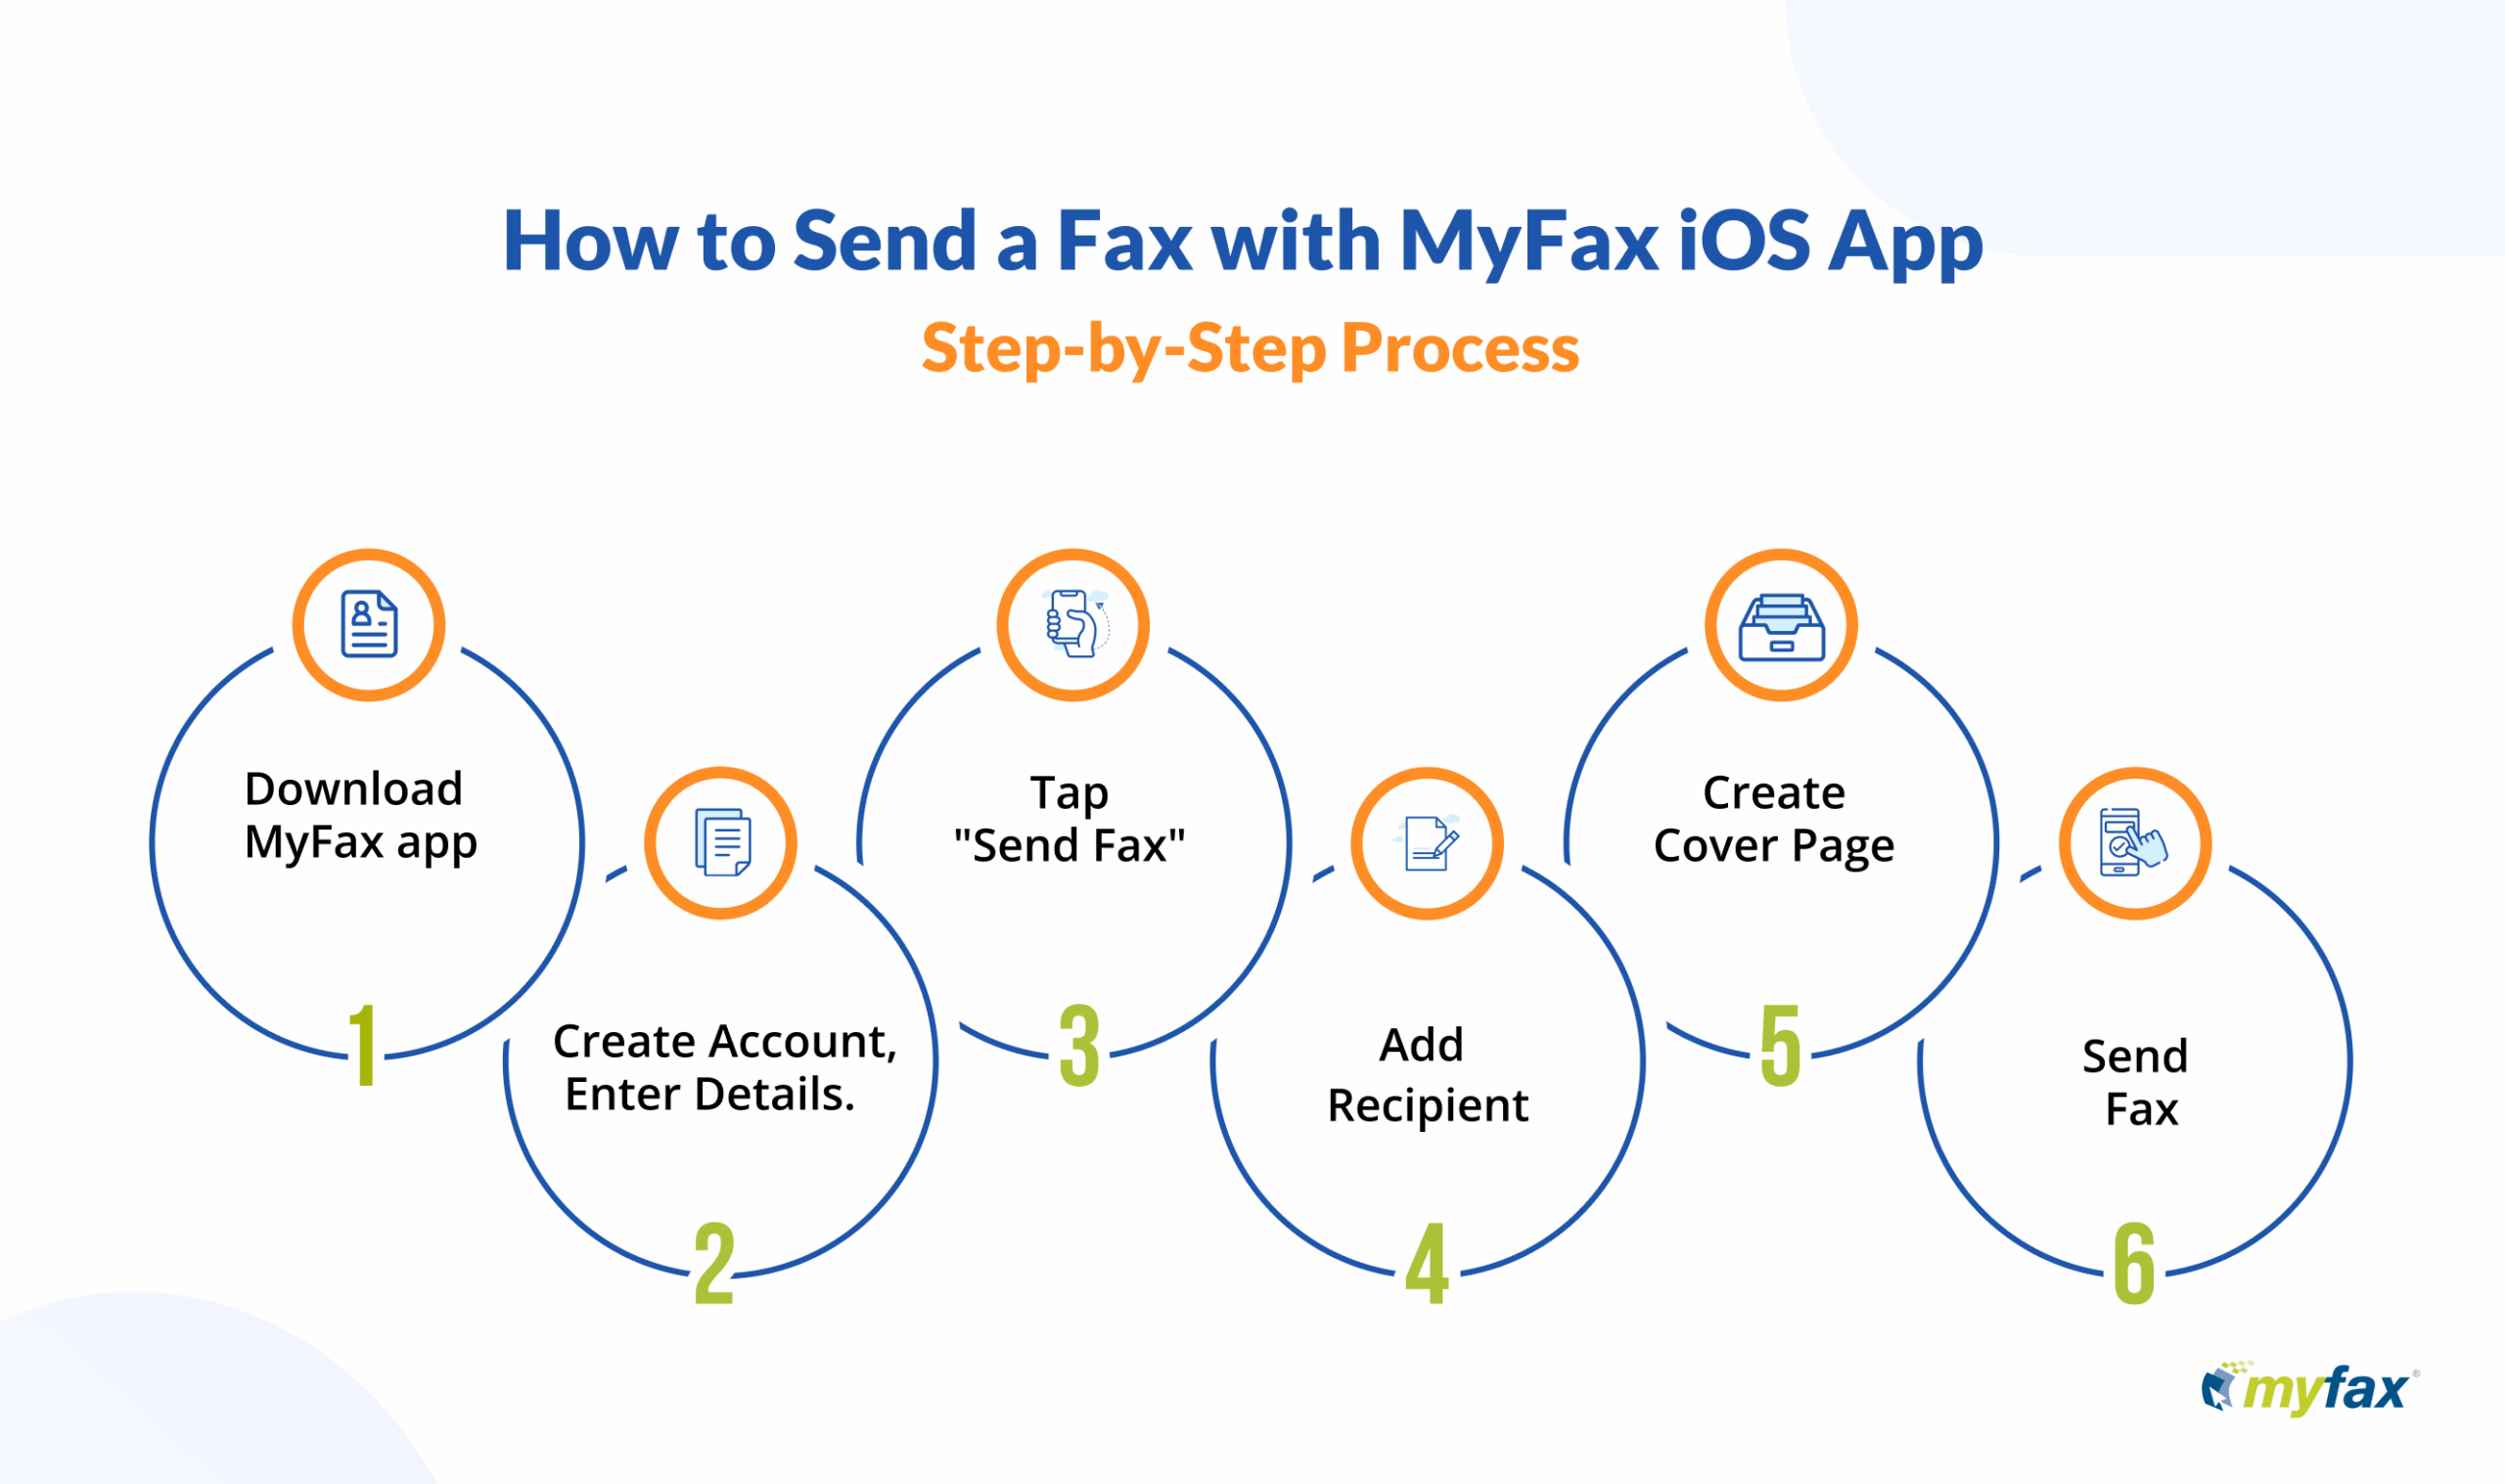
6 Easy Steps to Fax from Your iPhone
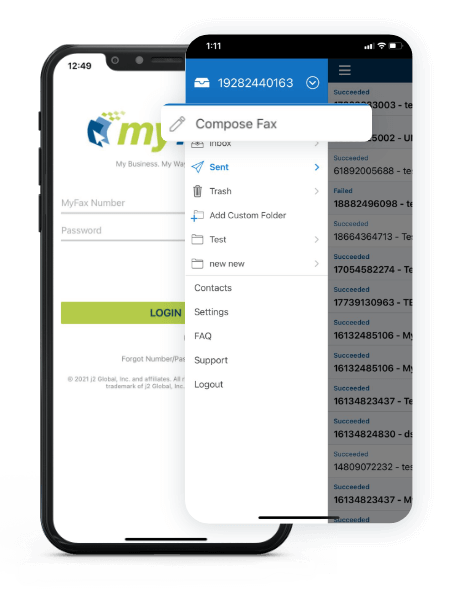
Download the MyFax app from the App Store.
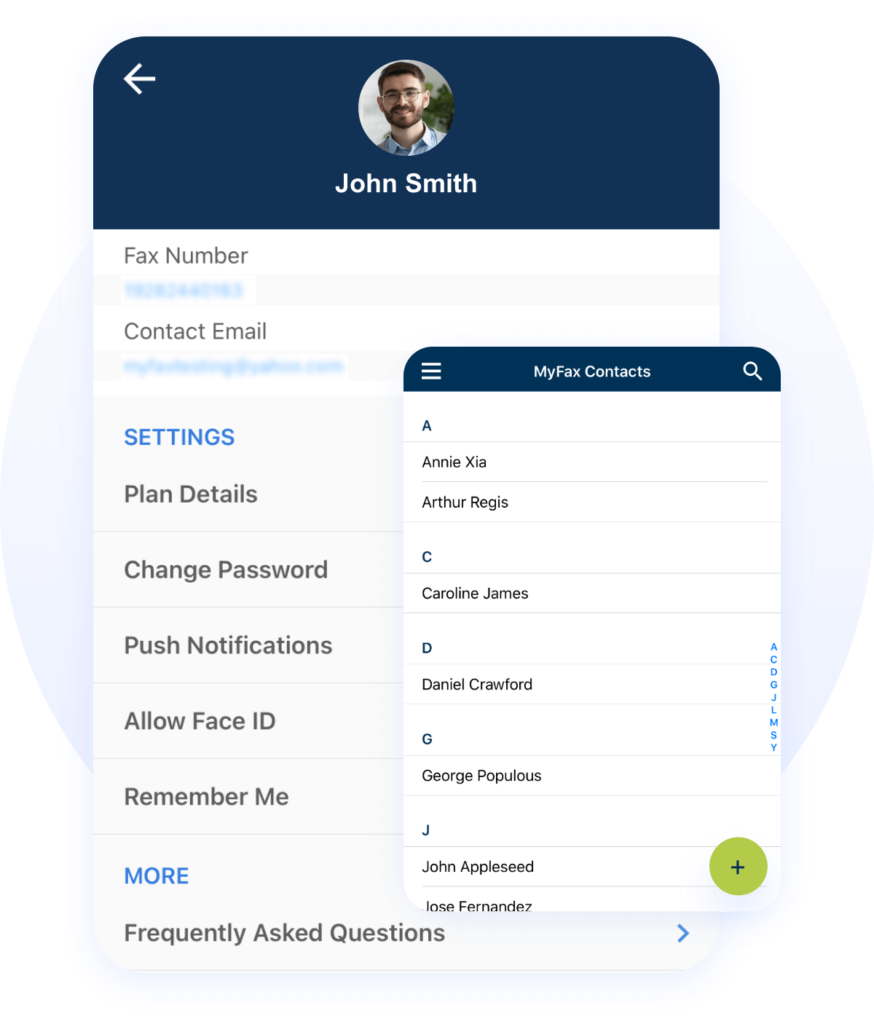
Open your MyFax account by inputting your phone number, email address and name.
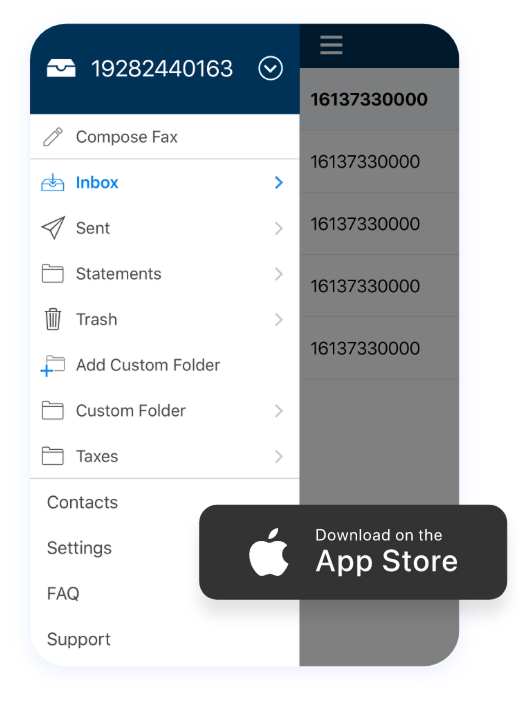
Send your first fax by clicking on “Send Fax” in the inbox.
Select your recipient from your phone contacts (or add a new one).
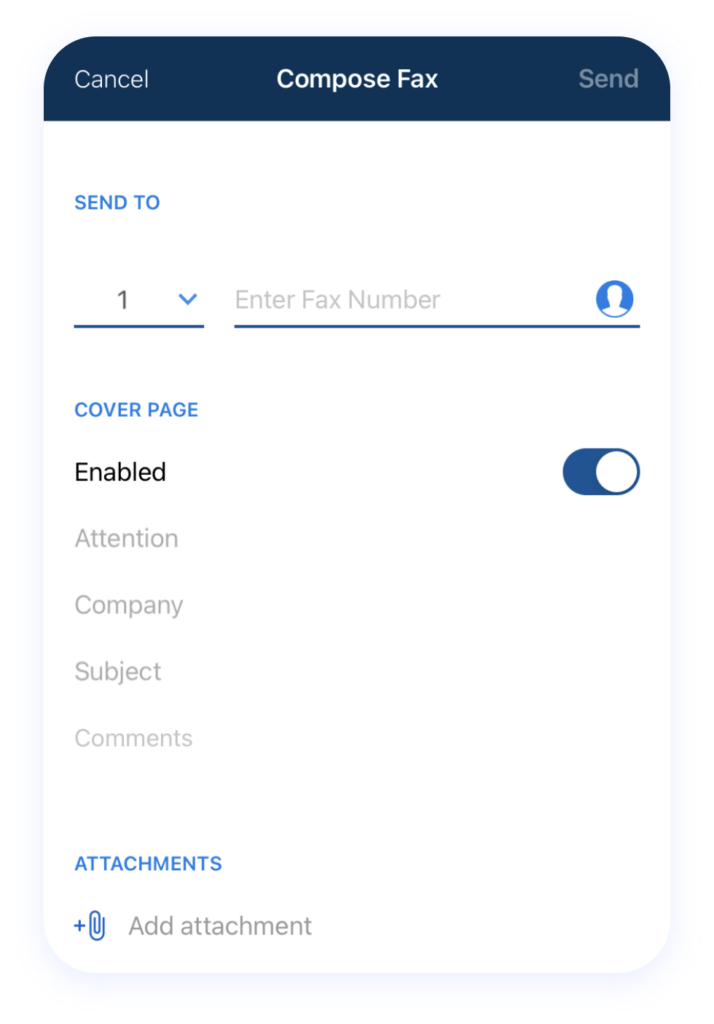
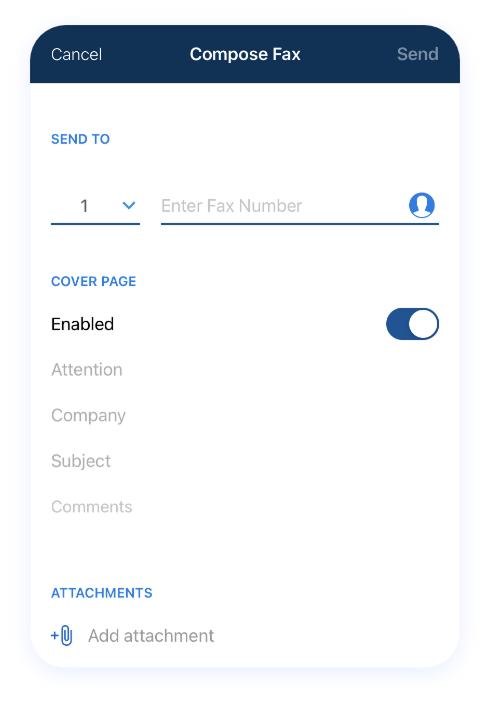
Fill out a cover page in the app, then add the attachment(s) you want to fax. You can take a picture to scan a physical document or attach a digital file from your phone or cloud storage app.
Hit the arrow in the top right corner of your cover page to send your fax.
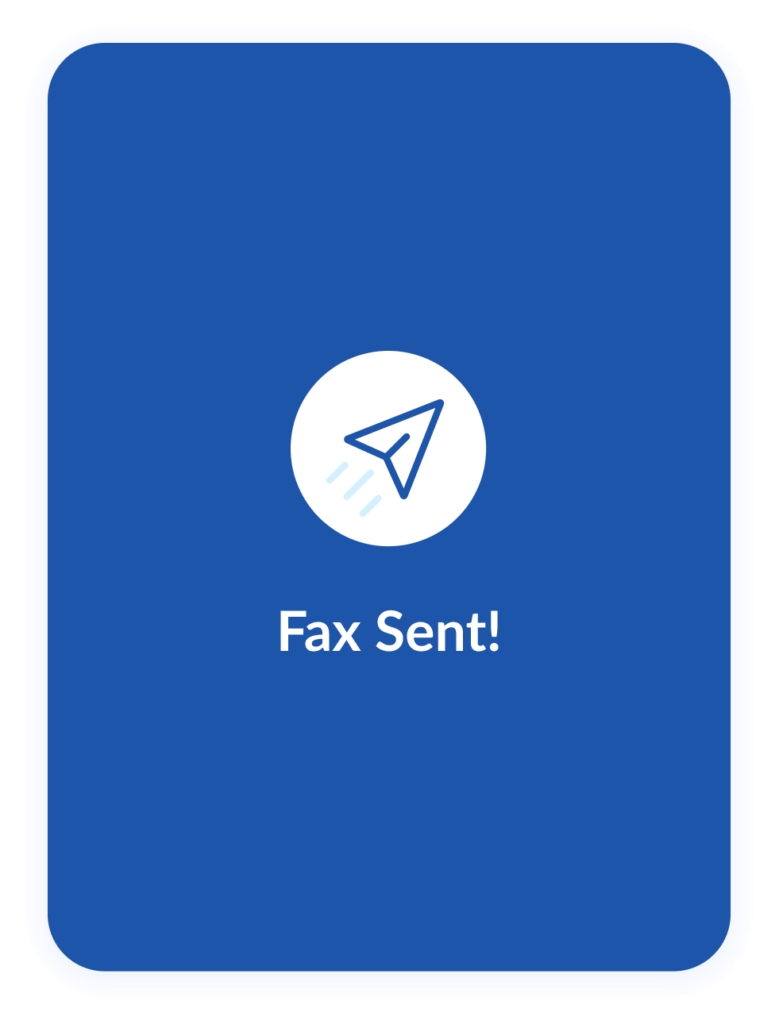
Once you hit that send button, your fax will arrive in mere minutes, if not seconds. MyFax will send you an email confirmation that the fax was successfully sent, and it will be up to the recipient to retrieve the fax from their fax machine or their inbox (if they, too, use online faxing).
In case you need to access your faxes at a later time, the MyFax iOS app stores all your sent and received faxes for the lifetime of your account. You can simply view them in your inbox and even print them out if you need a hard copy.
Is Faxing from an iPhone Safe ?
Yes! Internet fax solutions are often even more reliable than traditional faxes. That’s because they use encryption to protect your data in transmission. MyFax is compliant with data protection and privacy legislation, making it an ideal solution for industries like healthcare, law and finance.
How to Choose the Best Fax App for Your iPhone
The best fax app for iPhone will integrate with your existing software and cloud storage solutions like iCloud or Dropbox. MyFax not only works with a wide range of file types and storage programs, but it integrates seamlessly into your existing Apple business software.
You’ll also want a fax app that’s easy to use, reliable and offers great features, as well as secure, encrypted faxes. MyFax’s document management and fax storage solutions make it even better for faxing on the go.
4 Simple Ways to Fax From Your iPhone With MyFax
Digital faxing with MyFax is a much simpler, more efficient alternative to traditional faxing. Standard fax machines scan hard-copy documents line by line, then “call” the receiving fax machine. The two machines communicate through a series of beeps, transmitting the document information. The receiving machine then prints out the information.
The issue with that process is that fax machines can only handle one fax at a time. If another fax comes in while another one is in process, that fax cannot go through. There’s also the problem of documents with sensitive information forgotten in the machine and costly repairs — not to mention ink and paper expenses.
MyFax takes that traditional fax process and vastly improves it, removing those potential hurdles. And the good news is that you can send faxes to anyone with a fax number, regardless of whether they also use digital faxing or a traditional fax machine. Here’s a quick look at how the MyFax iOS app sends faxes.
Here’s a quick look at how the MyFax iOS app sends faxes.
- You scan paper documents within the app using your phone's camera. Or you can select a document from your phone or cloud storage app.
- The MyFax app connects with the receiving fax machine (or digital fax app) and "greets" it.
- The app shares the documents, and the receiving fax machine processes them.
- The receiving machine then prints the files (or, in the case of a digital fax recipient, the fax arrives in their inbox).
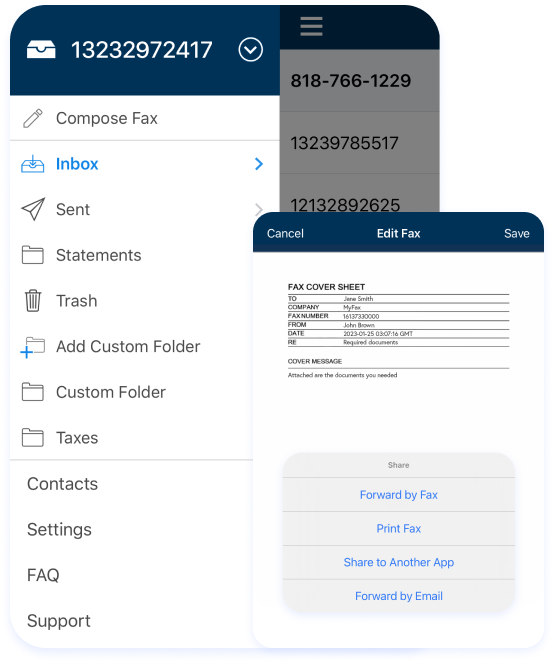
How to Receive a Fax with the MyFax iOS App
How to Send a Fax with the MyFax iOS App
If you already have a fax number, don’t worry! With the MyFax app, you can port your existing fax number and use it for online faxing. That way, you don’t have to update your contact information on your website and official publications, nor do you have to send out a massive information update. Porting your number also ensures you don’t miss any important faxes during the switch to mobile faxing.
The process is simple:
- First, make sure that you can port the number. Reach out to your carrier to confirm.
- Then, reach out to us at MyFax. You can email or call toll-free to start the porting process.
- We’ll send you a simple form to fill out with your name, MyFax account number, address, fax number and telephone carrier. That’s all you have to do — we’ll handle the rest. The best part is that you don’t have to wait to start faxing. You’ll receive a temporary fax number to manage any essential faxing workflows.
The MyFax mobile app offers quick and easy faxing capabilities — and it’s available on both Android and iOS devices. Here’s a glimpse of all you can do with the MyFax mobile app:
- Snap and Fax: You can use the MyFax app to fax any document — even if it’s a physical file. Just take a picture of the document to scan it, then attach it to your fax.
- Receive Real-Time
Notifications: You’ll get a notification every time a fax comes in, giving you peace of mind that you’ll never miss an incoming fax. - Send Several File Types: Whether you want to fax a PDF, OpenDocs or CAD, the MyFax iOS app makes it easy. You can send over 150 file types.
- Maintain Confidentiality: With MyFax, there’s no longer a need to worry about your file falling into the wrong hands. The faxes go right into your inbox — or your recipient’s inbox/fax machine.
- Enjoy Unlimited Storage: Need to quickly access your files later? The MyFax iOS app makes it easy. It stores all your inbound and outbound fax documents for as long as needed. You can even add tags to help organize them.
- Send to Multiple People: The MyFax app lets you send a fax to 50 people at once.
- Share the Account: If you work on a team, you can share your MyFax app account and fax number with up to five different email addresses.
Digital faxing is a modern solution that streamlines your workflows and gives you a competitive edge.
As mentioned above, using the MyFax iOS app is significantly more effective than traditional faxing. Not only does it save time, but it also cuts back on company expenses and allows you to connect with clients using traditional fax machines and those using online faxing.
Here are a few other benefits:
- Online faxing allows you to use less paper and ink, cutting costs and making your company more environmentally friendly.
- There’s no need to invest in heavy fax machines or brace for hefty repairs.
- Forget about trying to keep track of paper documents. The MyFax app uses keywords so you can keep everything organized and find just what you need in a few seconds.
- Your iPhone and iPad are now mini fax machines, meaning you can fax from anywhere there’s WiFi.
- You no longer need to depend on an office fax machine. Fax at an open house, on a work trip or in the car on your way to a meeting.
- MyFax gives you control over the fax number so you can still reach your client base.
- You can share your account with your team members. Up to five different emails can be connected to one account.
MyFax offers tiered payment plans that can work with all types of companies, from small, home-based businesses to large enterprises. Each plan includes the features listed above, plus a dedicated support team. The packages have a monthly fax limit, so consider how much faxing you plan to do. If you accidentally go over the limit, you won’t be barred from faxing – just charged a small fee.
All plans have a monthly and annual payment option. If you go with the annual option, you can save up to 17%.
3 Key Features of MyFax iOS App for Seamless Faxing
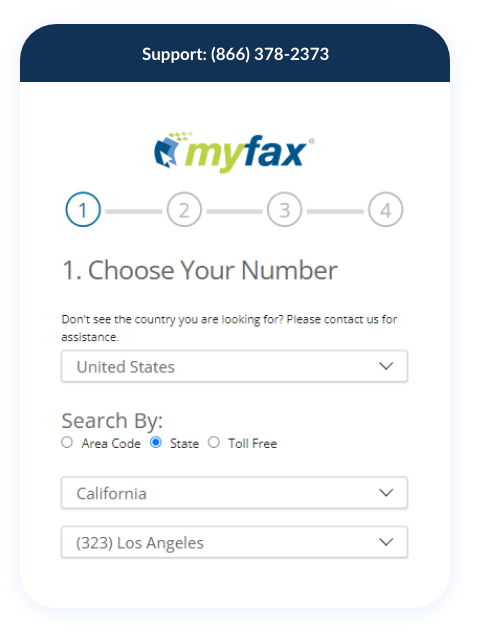
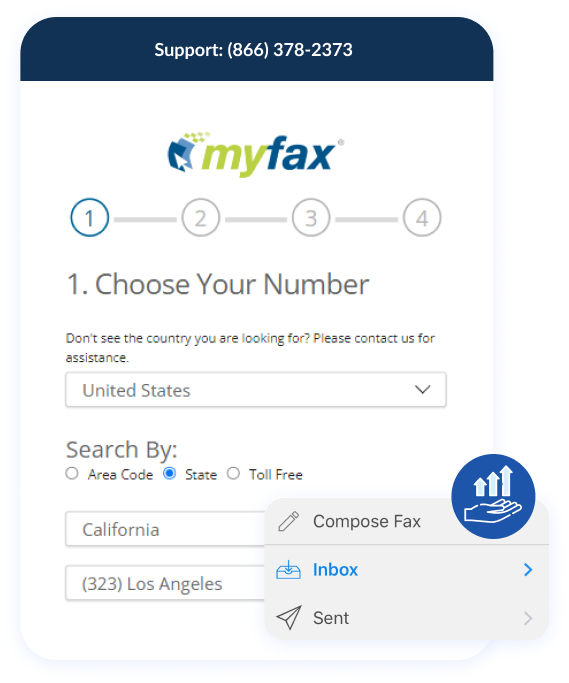
Even though online faxing doesn’t use a physical fax machine or a landline telephone, it still requires a phone number. With MyFax, you can select the best number for your business. It could be a local number that targets clients from a specific area or a toll-free number that speaks to your company’s established status. Another option is an international number for enterprises with a global network.
The MyFax iOS app lets you fax on the go — perhaps in a taxi or a hotel. However, the app isn’t the only way you can fax. You can log into your MyFax account on your computer, laptop, tablet or another phone. MyFax keeps everything paperless, so you don’t have to rely on any extra machines. Just grab what you have handy, log in to MyFax and start faxing within seconds.
Managing hundreds of faxed documents can be overwhelming — especially for growing businesses. Thankfully, MyFax makes it easy with keyword organization. Instead of scrolling through page after page of faxes in your inbox, you can use keywords to quickly locate the necessary document.
Can You Fax from Your iPhone without an App?
Yes, you can use MyFax to send a fax from your iPhone without using the iOS app. Just sent up “send to fax” in your account profile, and you can attach faxes and send them using any email client. Use the fax number and “@myfaxs.com” to send a fax using your email program like Mail.
For example, if the recipient’s fax number is (789) 543-8642, the email address would be [email protected]. Once you send your email, the MyFax digital fax service will convert it and forward it to the right fax number.
Experience the Ease of Faxing from iPhone with MyFax iOS App
Faxing From iPhone FAQs
Yes! Internet fax solutions are often even more reliable than traditional faxes. That’s because they use encryption to protect your data in transmission. MyFax is compliant with data protection and privacy legislation, making it an ideal solution for industries like healthcare, law and finance.
We think MyFax is the most feature-rich and reliable for sending or receiving faxes through an iPhone. Our app is intuitive, secure and packed with great tools to simplify faxing.
Healthcare organizations, financial institutions and the legal sector all use faxes heavily. That’s because faxing, especially digital faxing, is one of the most secure and reliable ways to send sensitive information.