
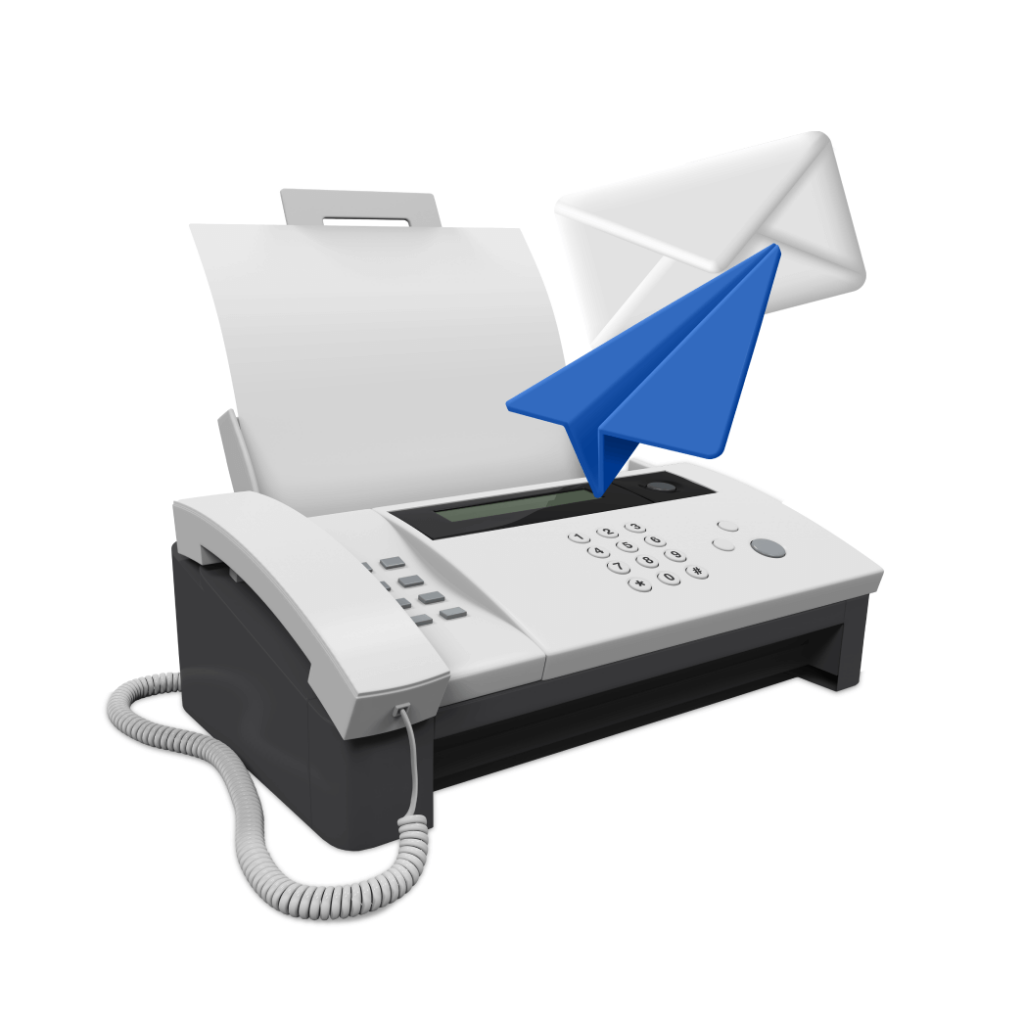
For businesses and organizations that still rely on fax technology, ensuring proper functionality and connection is crucial. Before you send critical documents via fax, it’s a good idea to test your fax machine to ensure proper setup — particularly if you haven’t used it in a while.
When Should You Send a Test Fax?
Sending a test fax verifies your fax machine is working correctly. However, conducting a test of a fax machine isn’t a one-and-done task. You’ll need to test it periodically throughout its lifespan.
Some situations when you should send a test fax include:
When you have just purchased or installed a new fax machine, you need to send a test fax to ensure that the device is correctly configured and operational and to check the fax connection.
If you’ve recently switched to a new phone line or service provider, a test fax will help verify the secure connection is working with your fax machine.
If you encounter any problems with your fax machine, such as poor transmission quality, incomplete faxes, or failed transmissions, sending a test fax can help you diagnose and resolve the issue. It will also help you determine if the problem is with your machine or the recipient’s.
If you have made changes to the fax machine settings or had it repaired, a test fax will confirm that the alterations or fixes have been successful and that the machine is functioning correctly.
4 Steps for Sending a Fax to Test Your Connection
If this is your first test fax, or it’s been a while since you sent one, the following steps will help get you started.
A well-designed test fax document can help you verify the transmission quality, legibility, and functionality of your fax machine. Putting some upfront effort into creating a comprehensive test fax will make sure your fax is ready for anything — and you can save it to use for future tests, so you’ll only have to do it once. Here’s how to create an effective test fax document:
- Use a basic text editor to write a sample document in clear and legible fonts: Choose a font that is easy to read, such as Arial, Times New Roman, or Calibri, and use a font size of at least 12 points.
- Add a variety of text elements: To test the quality of your fax machine’s transmission and the recipient’s ability to reproduce various elements, include different text styles — bold, italic, underline — font sizes, and bullet points or numbered lists in your document.
- Insert graphics or images: If you frequently send faxes containing graphics or images, add a simple sample of one to your test fax document.
- Save the document. Pick a common file format, such as PDF or DOC, so that it’s easily accessible and ready to use whenever you need to send a test fax.
One important element you can’t overlook is putting your sender info, including your fax number, on the header. Including your fax number allows the recipient to quickly identify your fax to confirm a successful transmission. If there are any problems with the transmission, such as poor quality, illegible text, or missing pages, the recipient can quickly contact you to discuss the issue.
When you’re ready to send the test fax, follow these steps:
- Load the document face-down on the fax machine’s document feeder or scanning glass, following the machine’s specific instructions.
- Dial the recipient’s fax number on the fax machine’s keypad or touchscreen, including the area code and any necessary international dialing codes.
- Send the test fax by pressing the start button on the fax machine to initiate the transmission.
- Keep an eye on the fax machine’s display or status lights, which will indicate the progress of the transmission.
- Review the confirmation report, if your machine prints one, to verify successful transmission.
If you’ve arranged with the recipient ahead of time, wait for them to send a return fax in response to your test fax. This document typically includes the sender and receiver info, the date and time of transmission, and a brief message stating that the test fax was received successfully and without any issues. Make sure you have provided your contact information, such as your phone number and email address, or contact information for your customer service team in case the recipient can’t respond to incoming faxes for some reason.
Assess the quality of the reply document when you receive it. Check for clarity, legibility, and completeness. If there are any issues, this may indicate a problem with your fax machine’s reception capabilities or the recipient’s transmission.
Send a Test Fax Using Fax Software
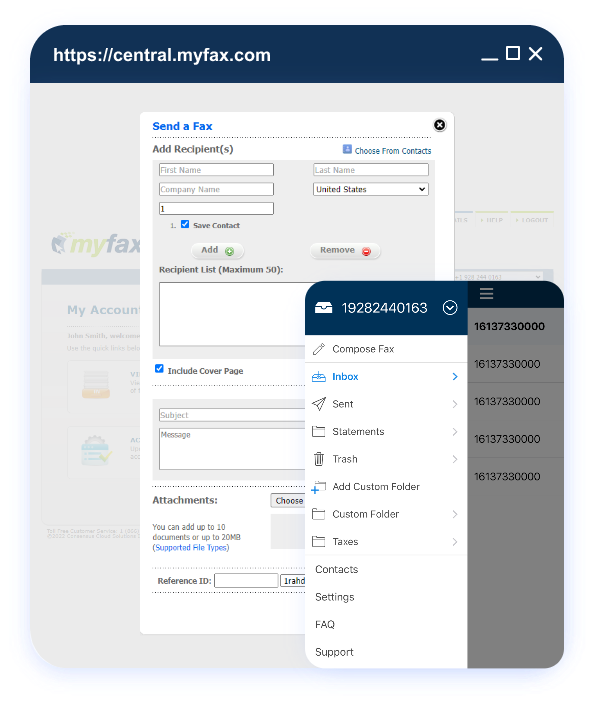
If you want to test your fax machine without sending a test fax to another fax machine, you can use online services like MyFax. This allows you to send a fax directly from your device, such as a computer, tablet, or smartphone. Here’s how you can do that:
- Create an account with the chosen fax software or log in to your existing account.
- Create a test fax document following the guidelines previously discussed.
- In the fax software, locate the option to compose or send a new fax. This is often found in the main menu, dashboard, or a designated “Send” tab.
- In the designated field, type the recipient’s fax number, including the area code and any necessary international dialing codes. Double-check the number to avoid sending the test fax to the wrong recipient.
- Use the software’s file attachment feature to upload your test fax document from your computer or cloud storage.
- If desired, you can create a cover page with a brief message explaining that the attached document is a test fax.
- Send the test fax.
- Monitor the transmission.
- Await the recipient’s response to confirm the successful receipt of the test fax.
Even with new technology and methods of communication, many people and businesses still use fax machines. MyFax brings fax services to the modern era by allowing you to send and receive faxes through an app on your device. Try it out today.